Why Proxmox and Not Ubuntu Server, TrueNAS, or ESXi
Before we dive in, a quick note on the decision process—to me, this belongs in the documentation just as much as the installation itself.
I had several options on my radar:
Ubuntu Server + KVM/libvirt (manual): Works fine, but every VM, network bridge, and storage pool has to be configured via the command line. Nothing wrong with that logically, but it leaves more room for typos and offers no central dashboard when running multiple services.
TrueNAS SCALE: Strong choice when storage is the main priority. However, the focus is clearly on NAS features, with virtualization treated more as an add-on than a core capability. Not the best fit for a server intended primarily to host VMs and containers for AI workloads.
ESXi/VMware: Technically solid, but since the Broadcom acquisition, free usage for homelabs has essentially disappeared. For a project that explicitly stands for "no cloud subscription, full control," I don't want to depend on a corporate licensing decision.
Proxmox VE ended up being the combination that makes the most sense for my use case:
-
Type-1 Hypervisor: Runs directly on the bare metal instead of on top of a bloated operating system—less overhead, more resources for actual VMs.
-
Built-in ZFS in the installer: No manual setup required, which becomes crucial as soon as multiple VMs or containers share the same storage.
-
Mix of VMs and LXC containers: For lightweight services (like ComfyUI later on), an LXC container is often enough without the overhead of a full VM. This saves noticeable resources, especially on a server built for efficiency.
-
Completely open-source and free for personal use—no licensing traps that could change down the road.
-
GPU passthrough is well-documented and widely used in the homelab community, which is essential since that is the exact next step in this series.
-
**Web UI: **Accessible from any device on the network—no need for a desktop environment on the server that would only waste resources.
None of these options are "wrong"—depending on the use case, any of them could be the right pick. But for a server meant to run VMs, containers, and eventually GPU passthrough for local AI models, Proxmox was the most logical choice for me. How We Will Proceed
This guide is the first part of a series covering my local AI server setup. Before installing Proxmox, a few settings must be enabled in the motherboard's BIOS—specifically Virtualization and IOMMU, without which GPU passthrough won't work later on. I'll walk you through these settings first, directly on the physical server.
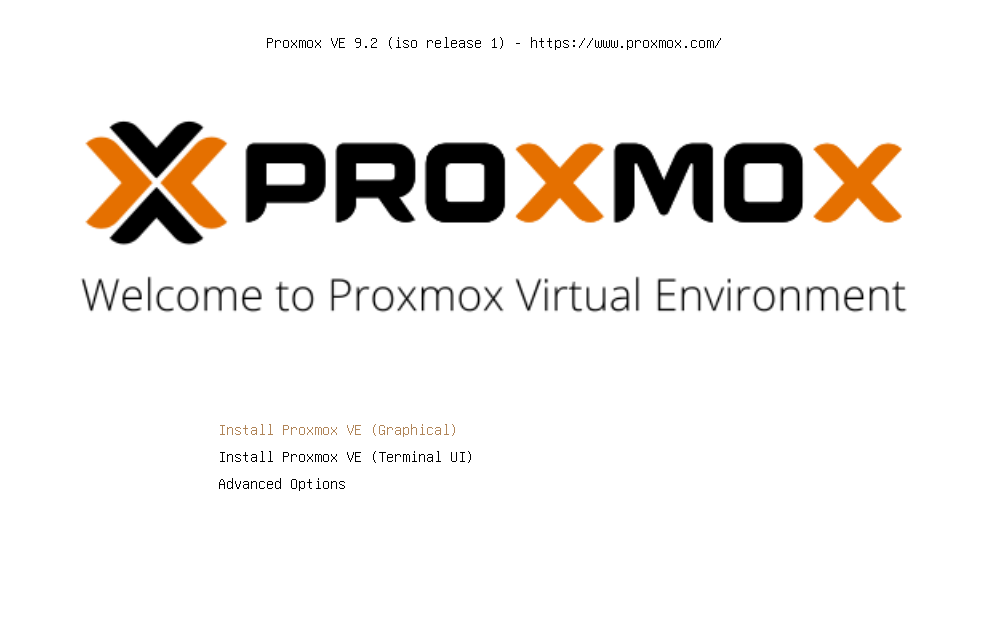
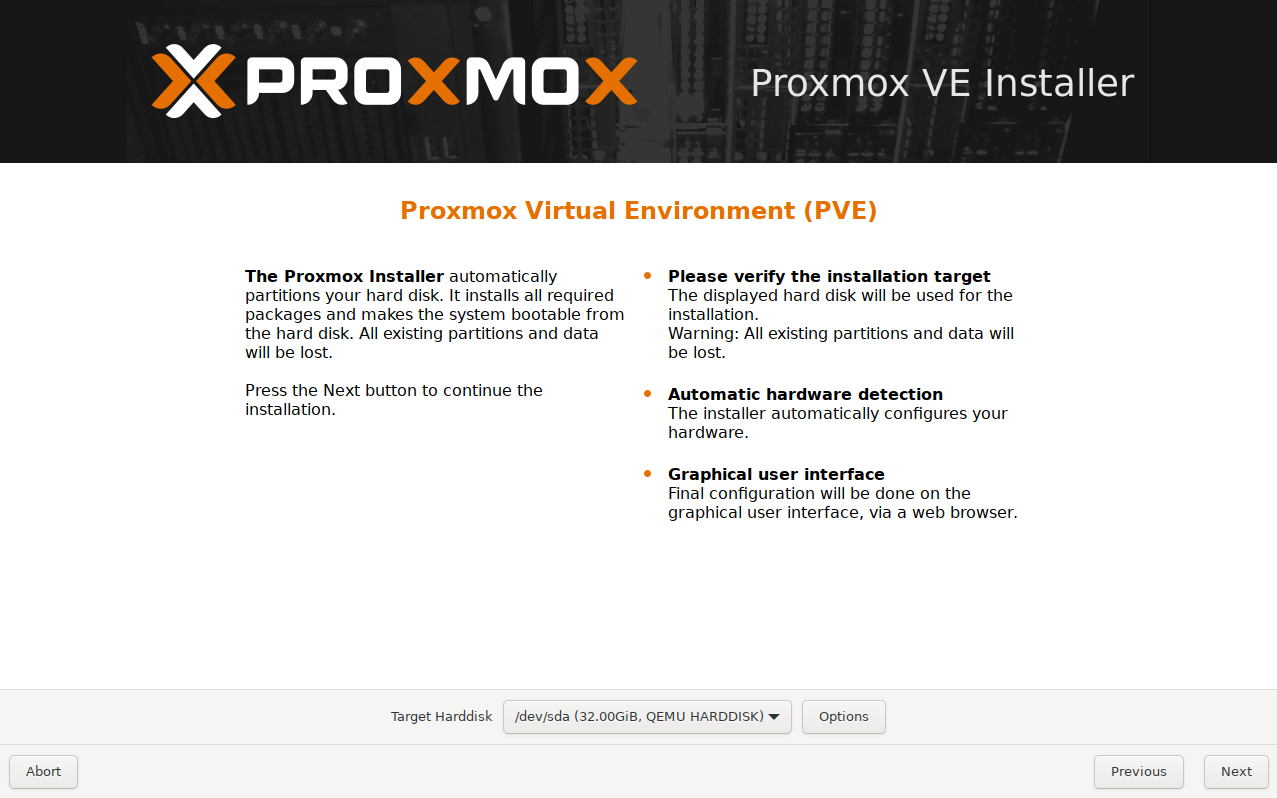
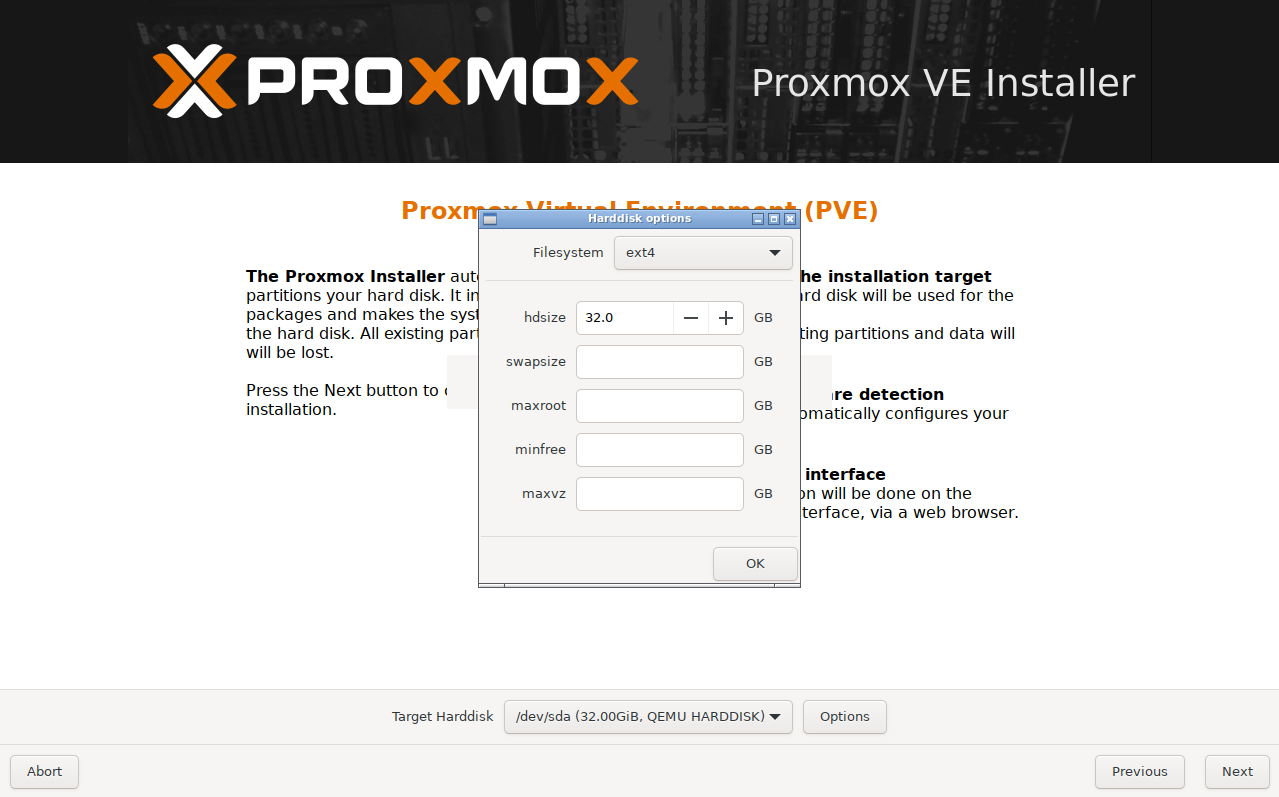
After that, I will run the actual Proxmox VE installation inside a clean virtual machine. The installation process itself is identical to bare metal, but doing it in a VM allows me to capture clean, reproducible screenshots for every single step.
By the end of this guide, you will have a freshly installed, up-to-date Proxmox VE node ready for the next phase: GPU passthrough for an RTX 5060 Ti, giving a VM or container direct access to the graphics card—the foundation for llama.cpp, ComfyUI, and everything that follows.